SharePoint on-prem development farms often do not have access to the internet, which can become a little challenge when installing development tools. In this blog post, you can learn how to easily create a Visual Studio offline installer with the workloads for SharePoint on-prem development.
2023-03-02 Update – added missing workload Microsoft.VisualStudio.Workload.ManagedDesktop
It’s 2023 and SharePoint online is amazing, and so is the SharePoint Framework for creating custom solutions. But a lot of companies are still using SharePoint on-prem, and there are plenty of classic farm solutions out there to maintain. For those solutions, Visual Studio is still your best friend.
In the past, it was possible to download the full Visual Studio installation file (a few Gigabits file), copy and install it on a development farm. But “recently”, the installation process was changed so that you download the Visual Studio installer application which then downloads Visual Studio and the selected workloads. But because SharePoint on-prem farms often don’t have internet access, this becomes a challenge…
So let’s see how to easily create a Visual Studio offline installer for SharePoint on-prem development. The steps below were tested with Visual Studio 2019, but should be similar for 2022.
Create a Visual Studio offline installer
The first step is to create the offline installer package, and we will use the great official documentation provided by Microsoft on how to create a network-based installation.
As described in the documentation, we will need to download the bootstrapper to create the network layout, so chose between Enterprise or Professional version.
The next step is to create the network layout (in simpler terms, the installation package) using the bootstrapper. We can do this in a very easy way using the command line, providing that we know the name of the workloads to get. If we don’t specify workloads and instead get everything, we end up with a file that is around 40 Gbs! For SharePoint development, we will go with Microsoft.VisualStudio.Workload.ManagedDesktop, Microsoft.VisualStudio.Workload.NetWeb and Microsoft.VisualStudio.Workload.Office, with will be around 4 Gbs.
Now simply open the command line in the folder where you have the Visual Studio bootstrapper and run the command:
.\vs_Enterprise.exe --layout C:\VS2019OfflineInstall --lang en-US --useLatestInstaller --add Microsoft.VisualStudio.Workload.ManagedDesktop Microsoft.VisualStudio.Workload.NetWeb Microsoft.VisualStudio.Workload.Office --includeRecommended --includeOptional
This will download all the required assets to perform the installation into the folder path specified by the --layout parameter.
For a full list of workload IDs, refer to the Visual Studio workload and component IDs documentation.
If you need to update or modify the layout, there is also plenty of information available in the documentation so make sure you check this out if you need to.
Visual Studio offline installation
Copy the install folder to the desired machine and ensure that you have enough disk space available. For the workloads above, it requires around 10 Gbs of space. For the full installation, it will be a lot more as just the installer is around 40 Gbs.
Installation can be done manually or via a script, similar to the process of creating the installer. The script approach is very useful for example in automated scenarios, but in this case, we will just do a manual install.
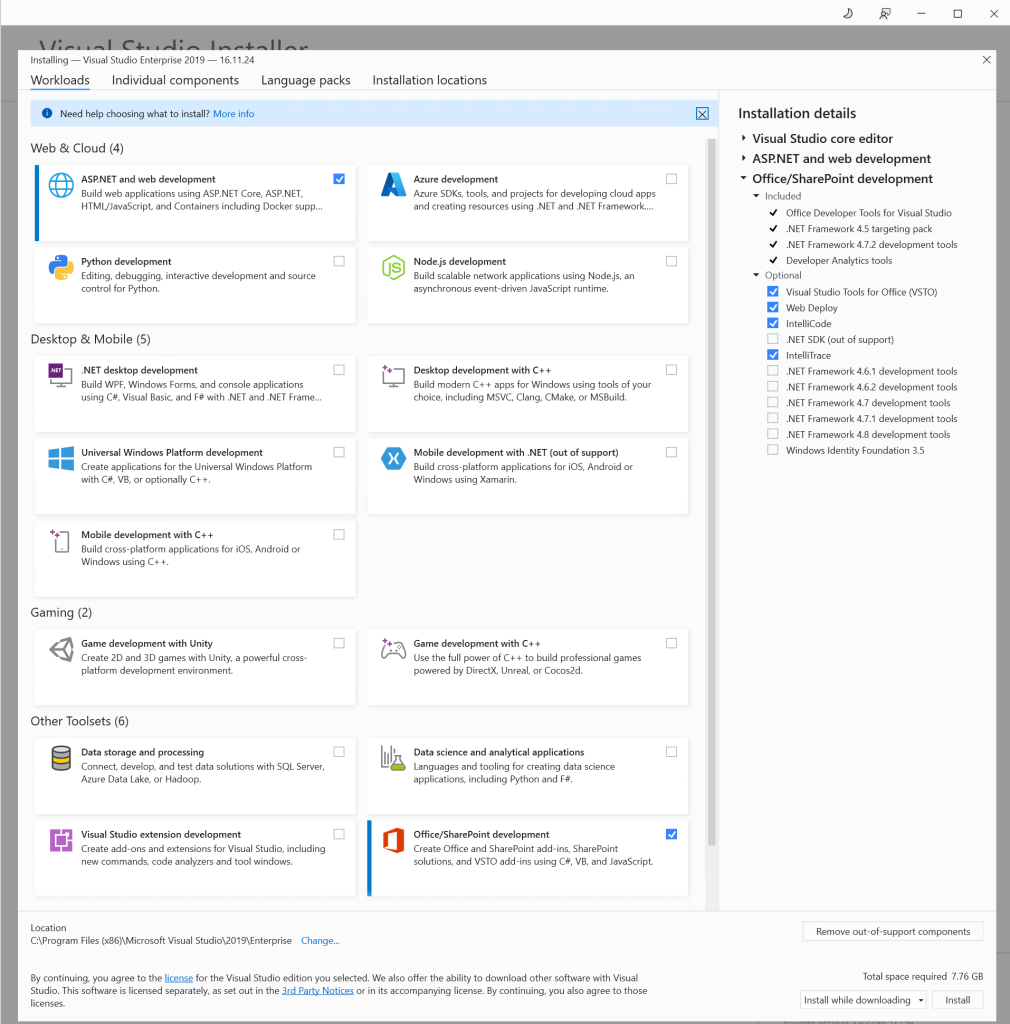
Execute the vs_setup.exe file from within the installation folder to start the process. This will launch the well-known Visual Studio installer and the downloaded workloads are already pre-selected. Double-check the selection and click Install to start.

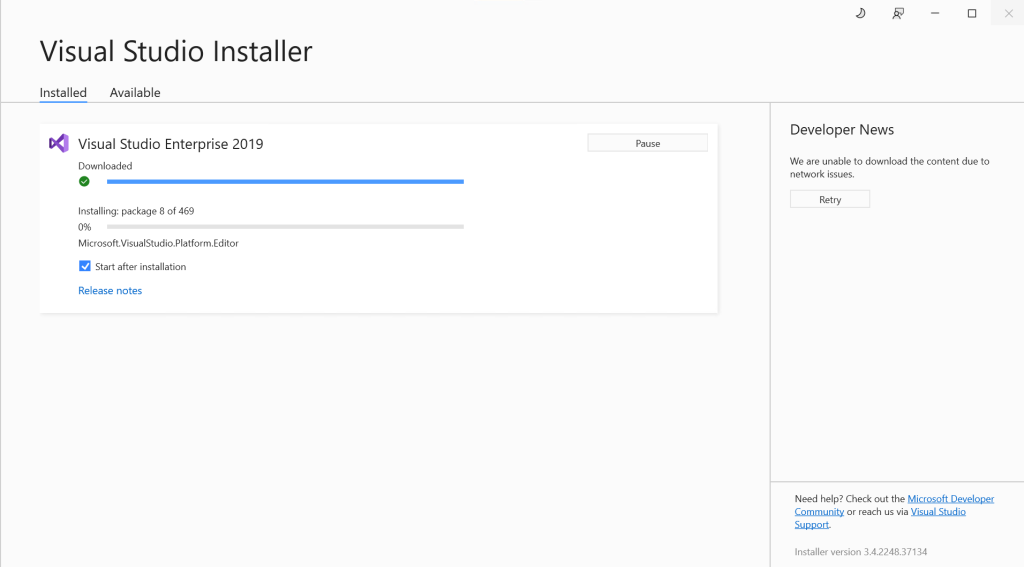
The offline installation process is very similar to an “online” installation, but you will find some differences. For example, in the image below, there are no news displayed on the right panel.

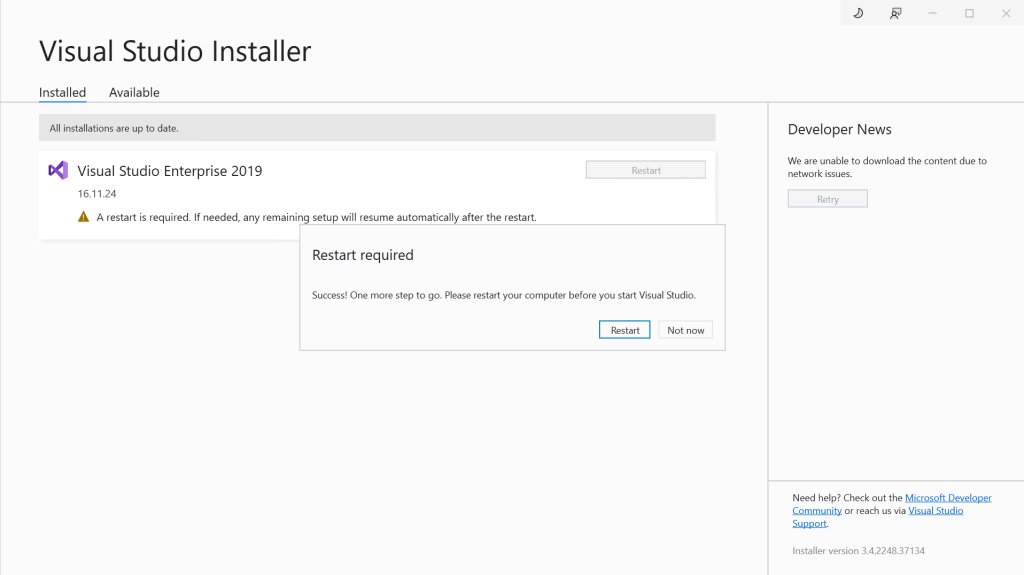
Also, note that once the installation is complete, it will ask you to restart the machine. Something to keep in mind if installing on a server.

